Picnic Perfect Chicken Salad

Sunday we had a wonderful crazy day of celebrating 5 family birthdays with a family get together at the lake.  The only thing wrong with the day was that my husband is travelling for a couple of weeks so he couldn’t be with us.  The kids had fun swimming.  I thought they were nuts given how cold the water was!  But hey, they had a blast so who am I to argue.  It took them a long time to actually get in though.

We planned a potluck and I wanted a light dish without mayo as it was going to be warm.  I came across an idea to use slices of apple instead of using crackers with chicken salad.  The chicken salad they had was mayo based so I used my own but I loved the serving idea of fruit.

I marinated chicken breast in olive oil, lemon juice, salt and pepper then grilled the chicken.

Chicken salad 1 2014

Let the chicken completely cool.  Chop up the chicken into small pieces and toss with olive oil and lemon juice.

Chicken  salad 2 2014

Finely chop a shallot and add a few teaspoons of fresh thyme.

Chicken salad 3 2014

I got all excited when I saw the co-op was selling individual celery stalks.  I only need two so it was perfect!  Thinly slice the celery and mix in with the chicken and then season with salt and pepper.  I made this the day before which allowed the flavours to meld together.  Slice the apples and top with the salad and then add a nut of your choice.

Chicken salad 4 2014

Easy, delicious, and fun!  And perfect for a picnic.  🙂


Turkey Stock

As it is for most people the holidays are a crazy time for our family.  I made this turkey stock a month ago and am only getting to post about it now!  With the exception of the veg broth I use in a lot of recipes we cook with homemade stock.  It’s less expensive, I know what goes into it, and the sodium level won’t rocket your blood pressure.  Reading labels can be so frustrating at times.  The amount of sodium in the processed foods is scary.  And I love salt!  This recipe works for turkey, chicken, duck, and even goose though I haven’t tried goose yet.  It’s on the list.  😉

You will want a large pot, especially if you are doing this with turkey.  We used our brew pot which holds a few gallons.  It was deep enough if I broke up the turkey a bit.  Cut off most of the meat.  Some meat is ok.

Turkey Stock 1 2013

Add an onion quartered and a large carrot which has been peeled and cut into large chunks.  These were our last carrots from the garden.  I also added a few crushed cloves of garlic.

Turkey Stock 2 2013

We had frozen some celery from our garden.  It worked out quite well for this application.  You want the green leaves of the celery for a tasty stock.  I don’t understand why the stores seem to insist on selling celery with the leaves chopped off.  There is so much flavour in the leaves!  It’s a main reason why we grow our own celery.

Turkey Stock 3 2013

Add sea salt and pepper to taste then fill the pot up with water.

Turkey Stock 4 2013

Bring to a boil then simmer for 2-3 hours.

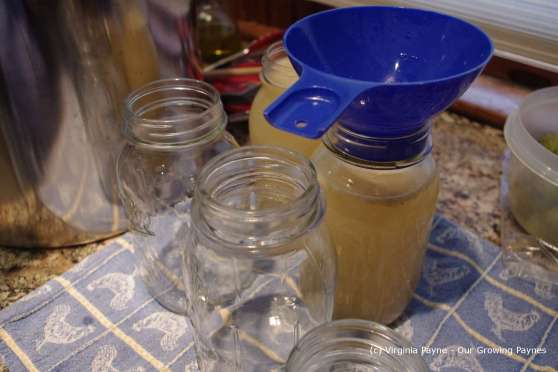
When this is nearly done prep the jars by sterilizing them for 10 minutes in boiling water.  Then fill the jars with the stock.  I know a lot of people spend time skimming the stock and removing fat but given the amount of fat versus the stock amount this is a relatively low fat stock.  As is works very well for us and our recipes.

Turkey Stock 5 2013

While I am filling the jars I turn the heat on the water I used for the jars all the way down and toss in the rings and lids.  You don’t want to boil the lids.  Once the jars are filled I put the lids and rings on.  I tightened then put them back into the water and bring to a boil.  Once boiling I process for at least five minutes.

Turkey Stock 6 2013

Once that is done I remove and tighten any rings that are loose.  Then I let cool.  I swear to you I took pictures of the final product.  I can not find them anywhere!  I checked my camera and my phone.  Nada.  They will probably show up down the road.  🙂

Sourdough Bread Stuffing

I came up with this recipe years ago.  I wanted to make something simple, delicious, and a step up from the stove top stuffings.  As much as I like those, this is Thanksgiving!  The bar has to be raised.  🙂

It is important to start the day before with the bread.  I bought a Sourdough Boule ( I know I didn’t bake it, but this is a huge time saver with all the cooking we have to do!) and it gets torn up the day before to turn it a bit stale.  This allows the absorbing of the broth without making it super soggy.

On the day of I slice up some cranberries and celery leaves.  I usually use celery but right now all I have left in the garden is a few small stalks and a ton of leaves.  I’m amazed I have that!  Turns out the leaves are a better choice for colour and flavour.

I toss the cranberry and the celery into the bread and set aside.  Next I chop up some garlic and onions and saute in olive oil.

Once the onions have softened a bit then I add about 4 cups of veg broth.  Several of my family members are vegetarian so it is important that all the sides are vegetarian so they can eat.  🙂  Bring the broth mixture to a boil then simmer for a bit.

Now it is time to put it all together.  Add a bit of the bread mixture to the baking pan and then add a bit of broth.  It’s important not to add the broth all at once otherwise you will have  really soggy spots.  At this point I also add in shredded Italian cheeses.  I usually get the 4-6 cheese variety.

Make sure you have plenty of bread as it will shrink down as you add the broth.  Once it is filled up I top with cheese.

We had an oven already heated at 350 F so I covered the stuffing and baked for about 15 minutes, then I uncovered it until it browned on the top a bit.

It works really well with the turkey and I like putting a bit of the gravy over the stuffing.  🙂


First Frost of the Season

Where we live it can get brutally hot and bitter cold.  One year we had a range of -30 F (-34 C) to 110 F (43 C)!  It was a bit much.  So for the gardens we have to expect anything and everything.  Last week we had our first frost of the season and it got chilly, down to 24 F (-4 C).  Which meant we had to protect our tender veg that was still going strong.  And right now that is nearly half our garden.

It was time to tuck a few raised beds in.  When you do this you want to use breathable fabric so the plants get air but the frost doesn’t settle on the leaves and veg.  When the sun starts to hit the plants remove the sheets and blankets.

The plants we tucked in were peas, beans, peppers, and celery.  As it was quite windy we had to use clamps and lots of rocks.

The next morning was a very pretty morning.

We actually still had a few blossoms on our strawberries but the plants are still small so we weren’t overly concerned.

I love how the frost settles on the plants in different patterns.  🙂

I was thrilled to see the peas did well.

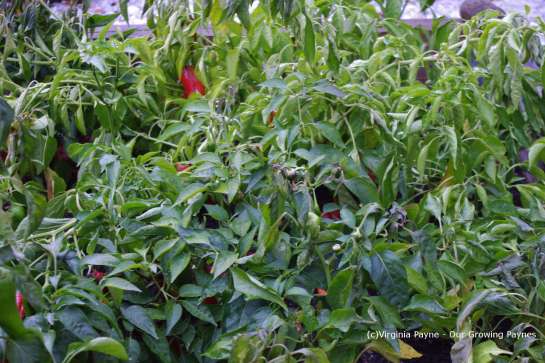
We were pushing it a bit with the peppers but most of the plants came through.

And I was equally surprised the celery did ok!  Which is good because we have a lot of it and don’t want it to go to waste.

Alas the growing season is coming to an end.  Soon the frosts will be too frequent and the warm days will be behind us.  It’s been a wonderful summer for the food.